Nitrous Outlet
Remote Nitrous Bottle Opener with Installation Accessories
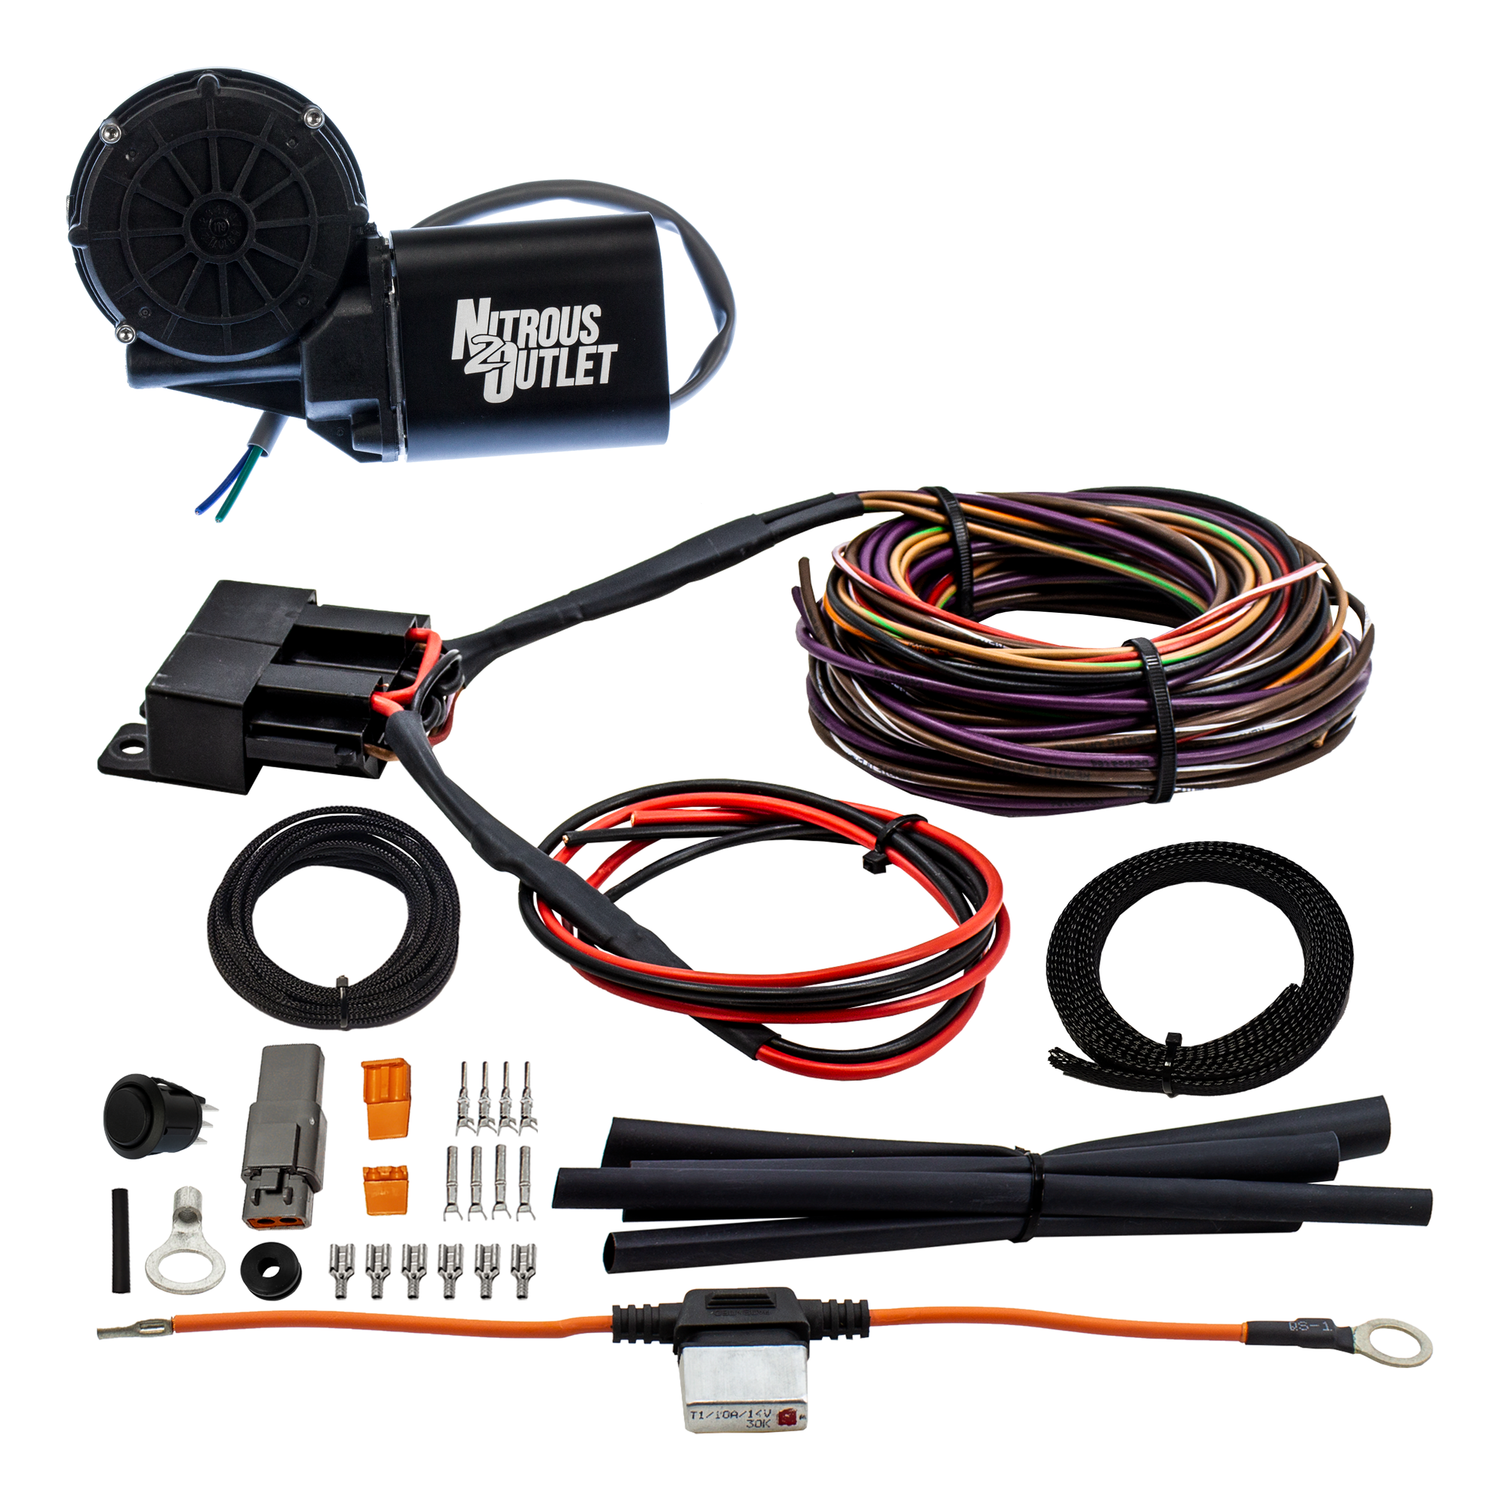
SKU: 00-66000-K- Open The Bottle With The Push Of A Button!
- Black Anodized Billet Aluminum
- Draws 18 Amps
- Easy Wiring Solution
- Harness Routing Instructions
- Detailed Colored Wiring Diagram
- Deutsch Connectors
- High Quality Molex Terminals
- Bueler 40/60 Amp Relays
- Protective Expandable Wiring Loom
- Automotive Copper Core Wire With Protective Silicone Coating
- Inline 10 Amp Circuit Breaker
- 2 Way Momentary Rocker Switch
Convenience at the Push of a Button:
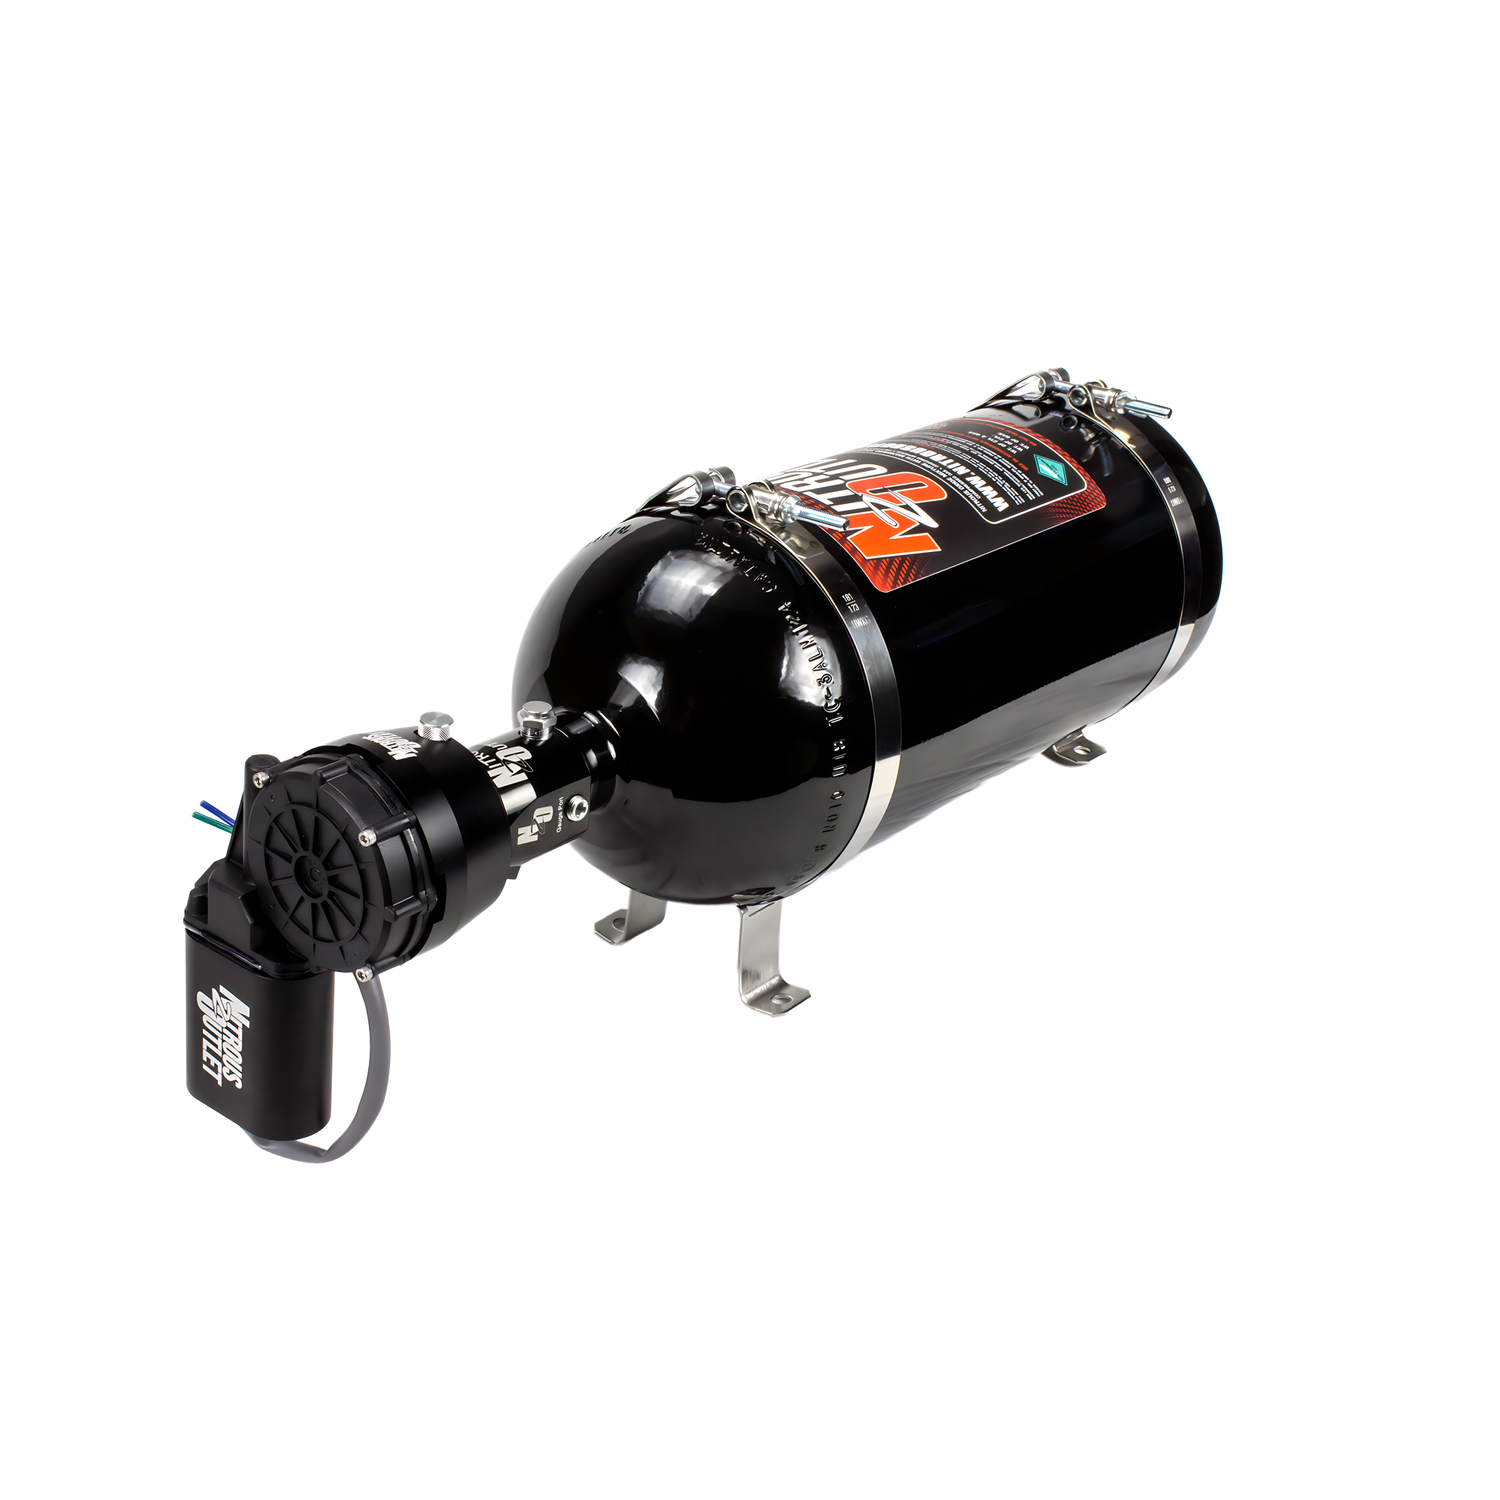
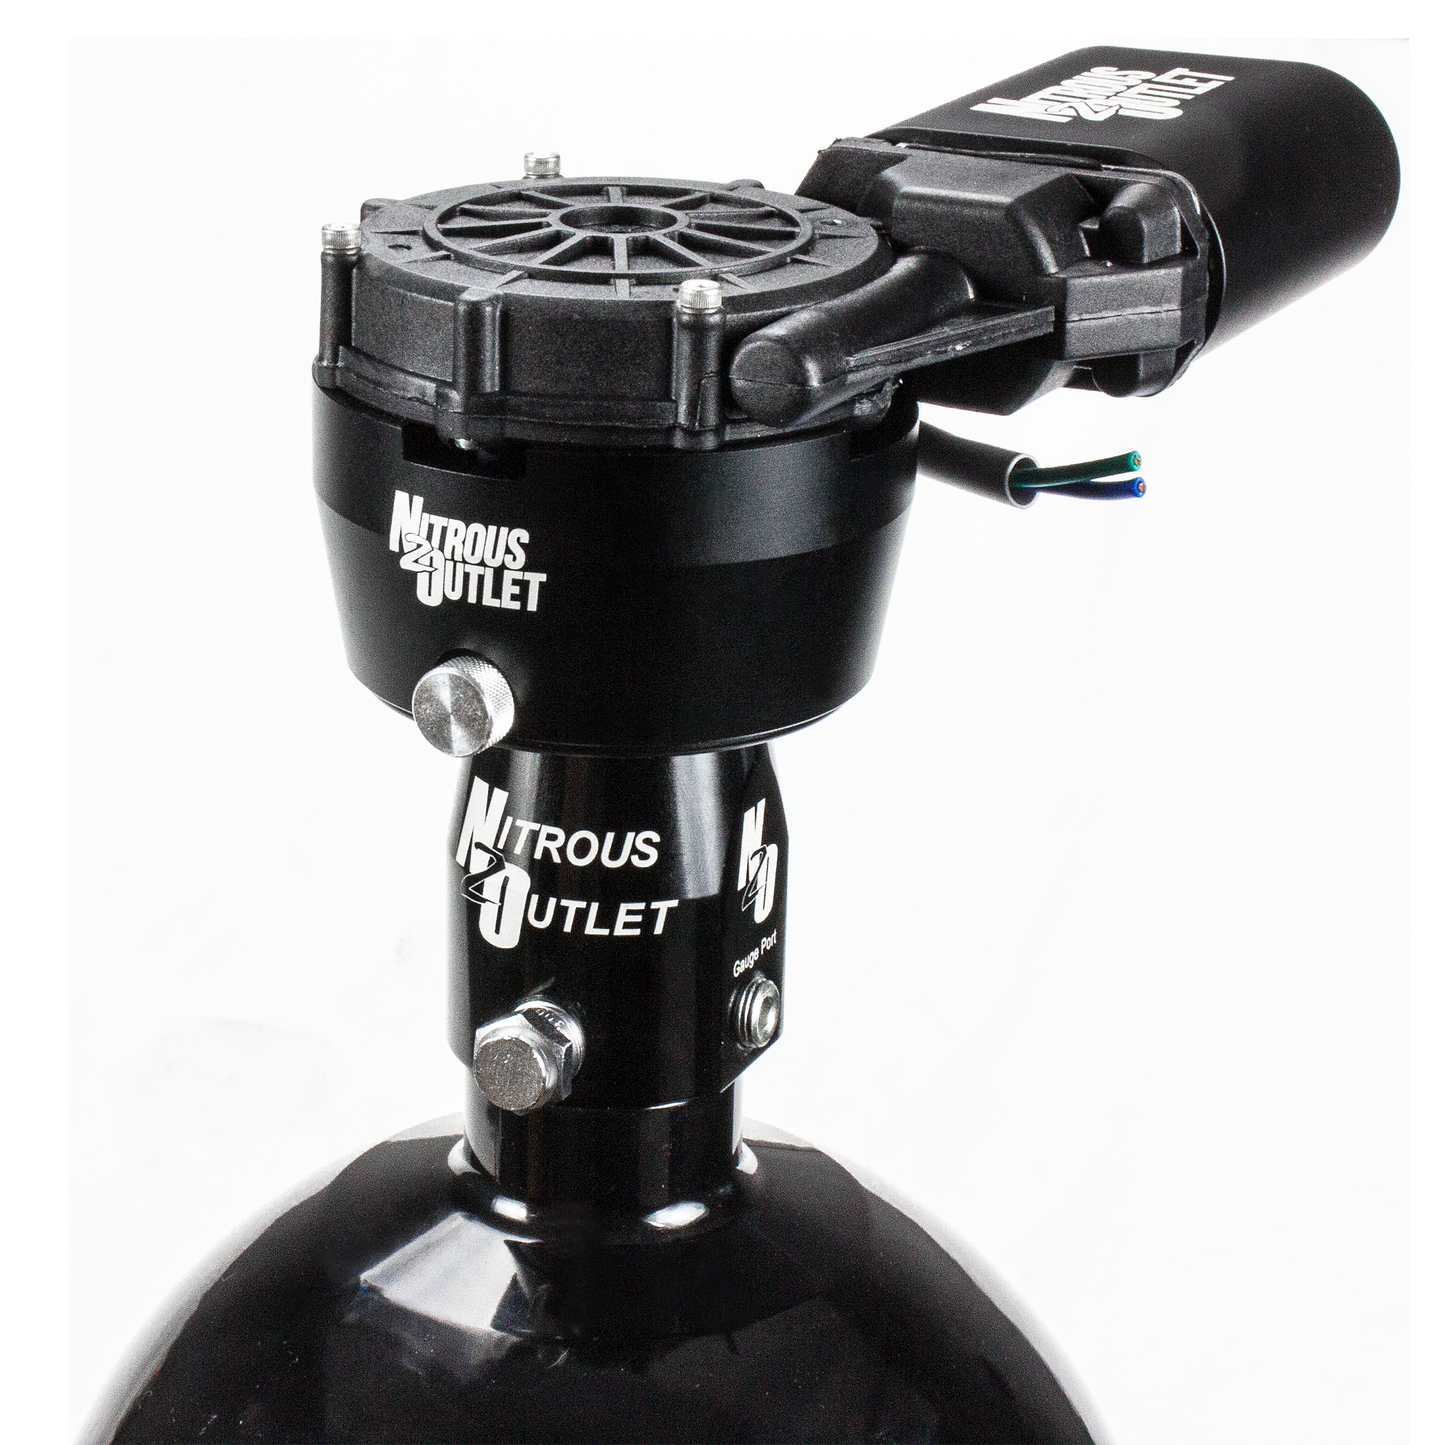
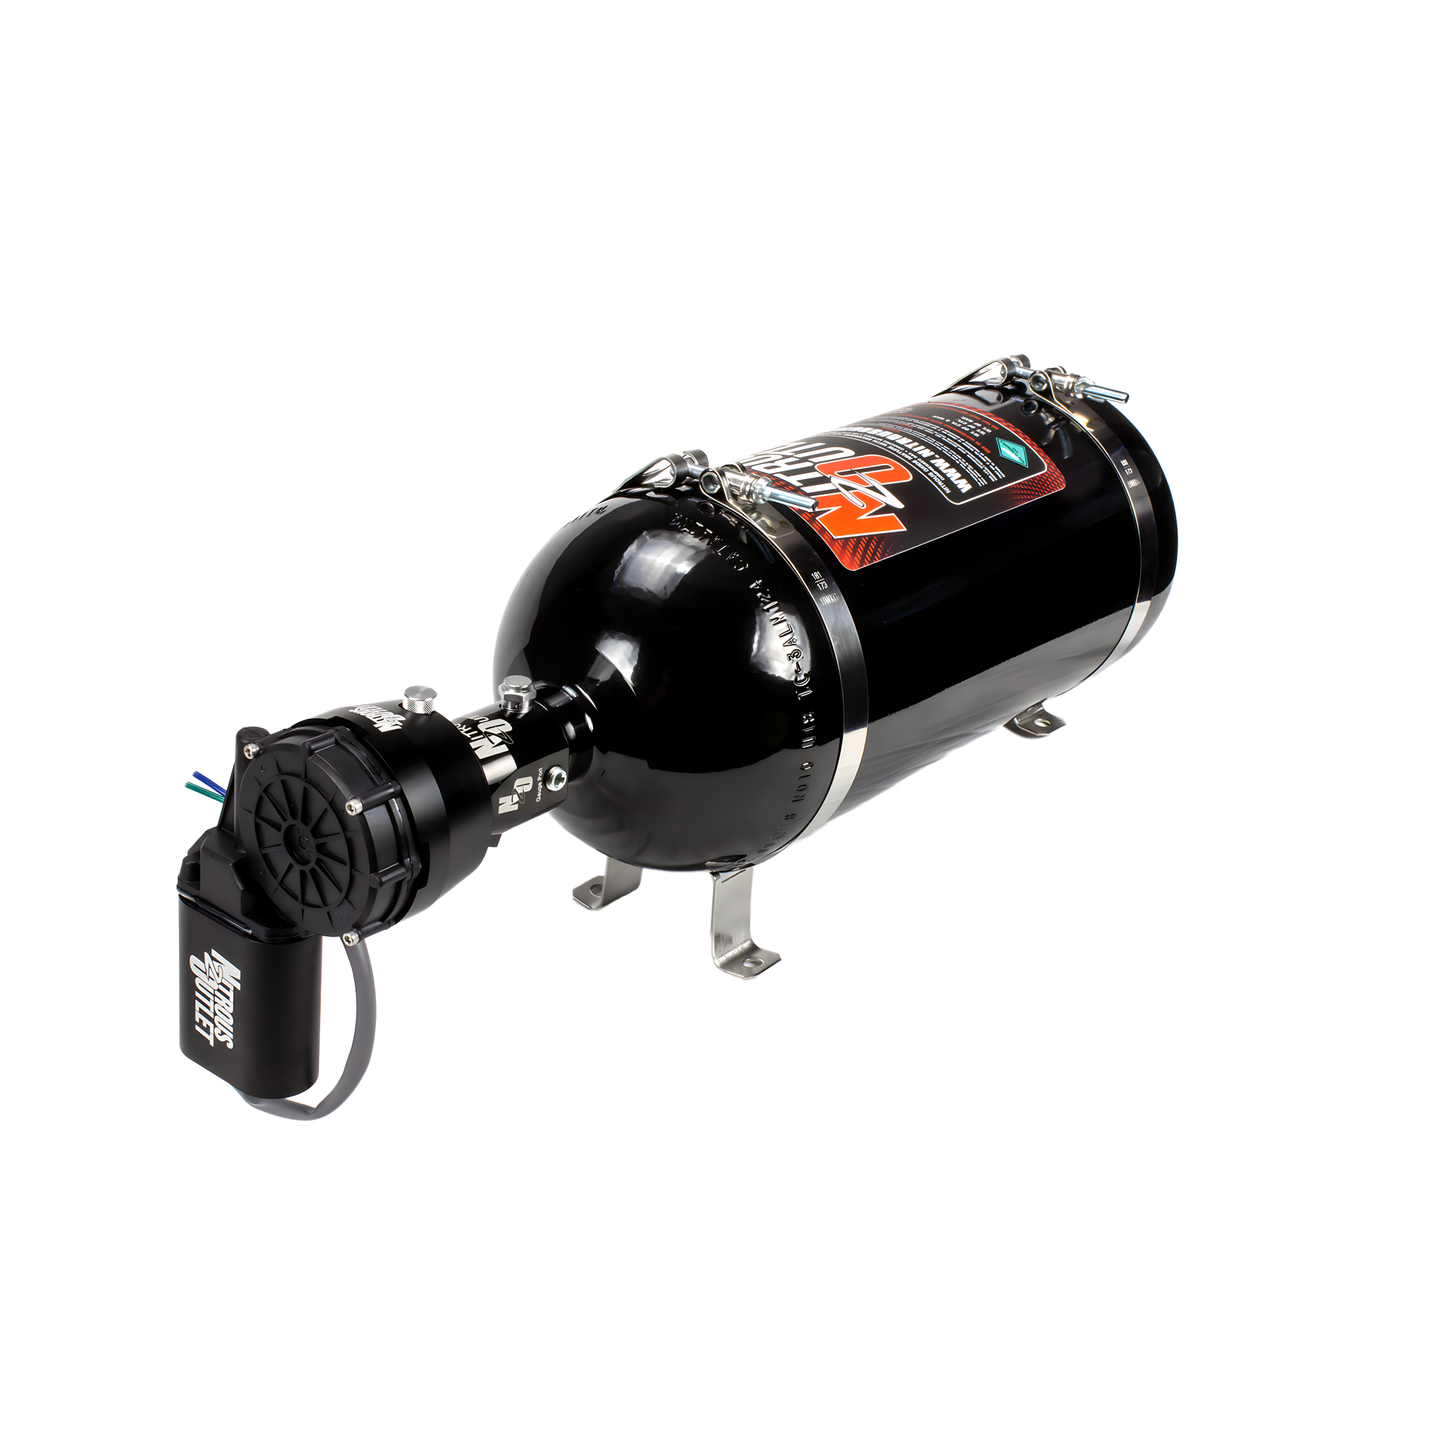
Thats what our Remote Nitrous Bottle Opener provides! A simple button push allows you to open and close your nitrous bottle without leaving the comfort of the driver’s seat. This is the ultimate convenience upgrade to just about any nitrous system!
Strong and Sexy:
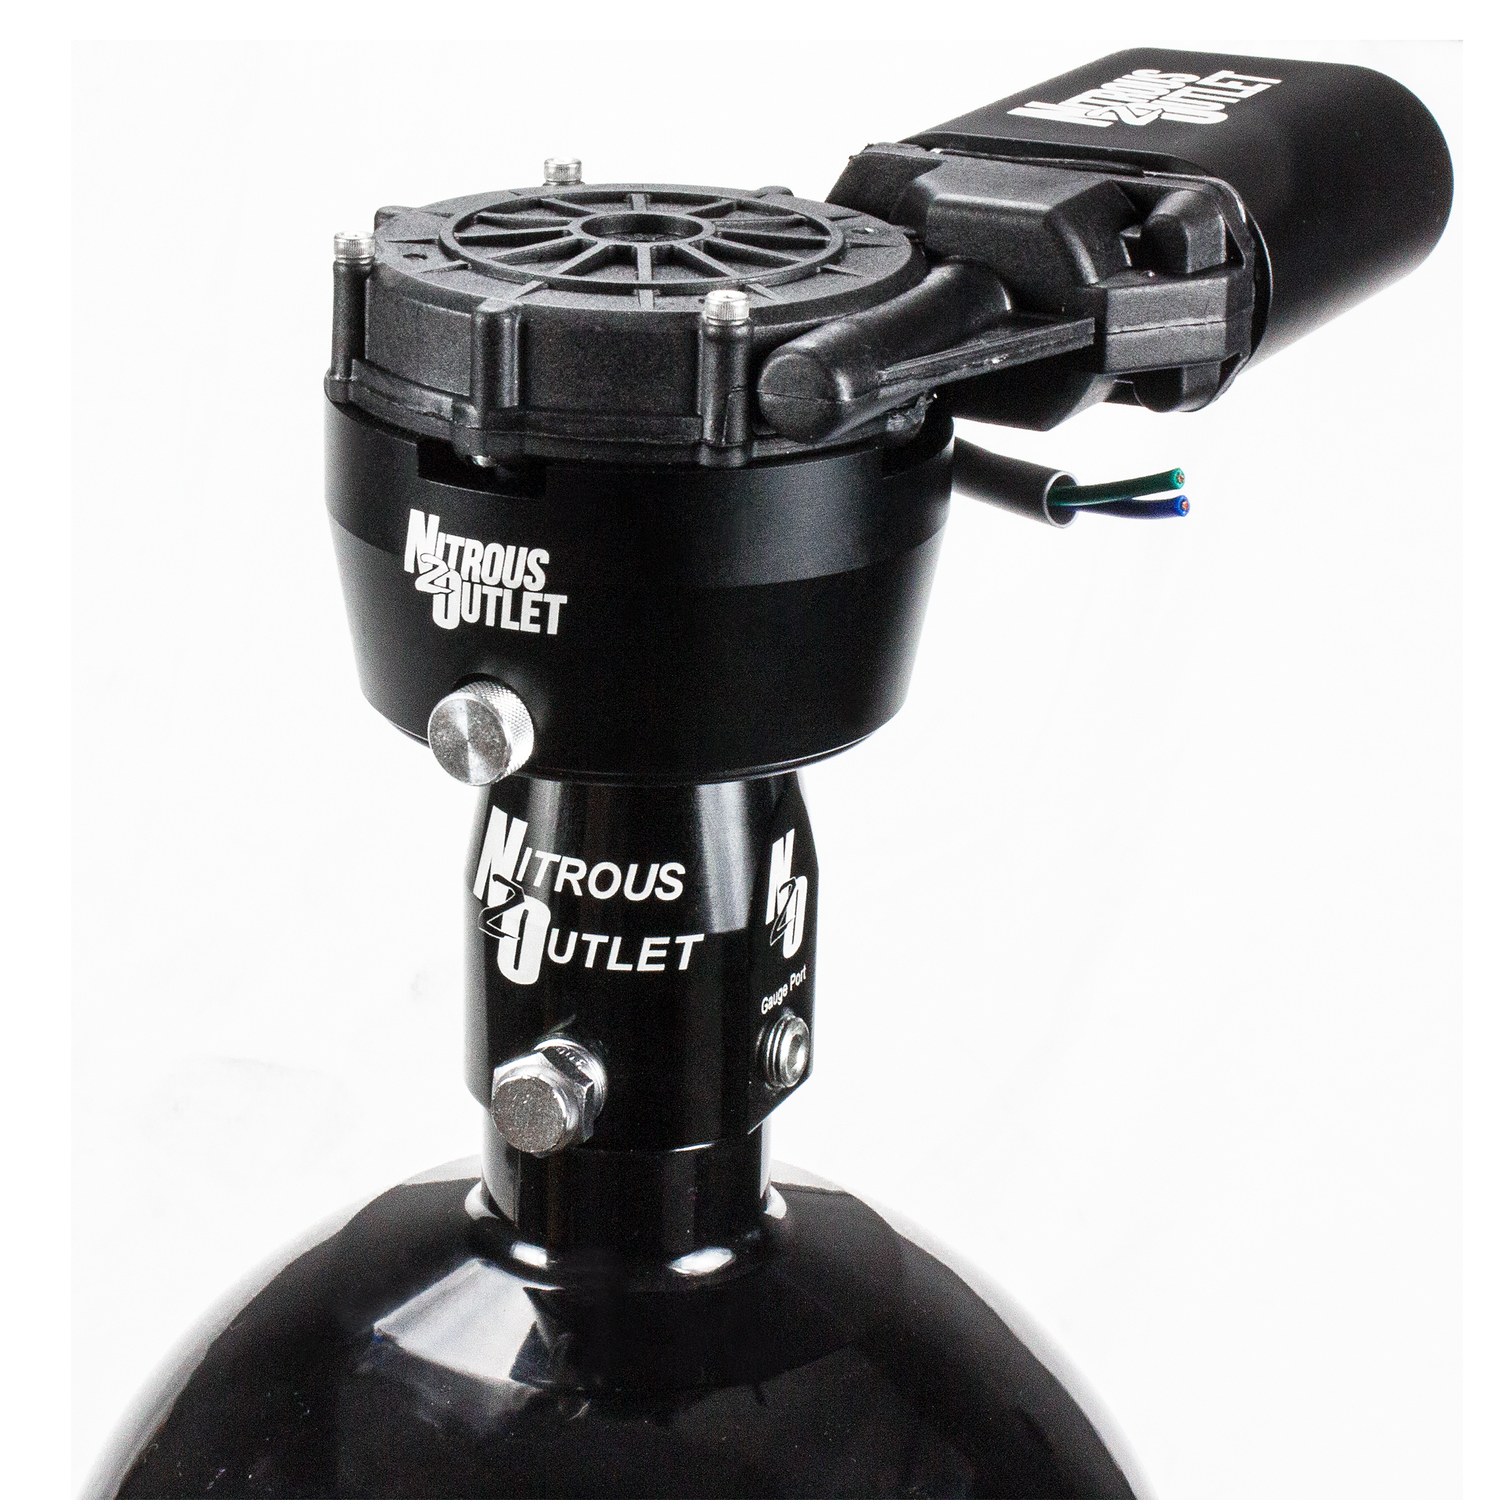
Our high-torque motor operates on 12v, draws 18 amps, and will fully open and close the valve under full bottle pressure. The collar, spacer, and motor cover are all manufactured from 6061 aluminum, black anodized, and laser etched with the Nitrous Outlet logo.
Application:
This Remote Bottle Opener is designed to fit our billet bottle valves (both our old .375" and current .508" versions) but may work with other manufacturers billet valves as well. Will Not Fit X-Series Valve!
Easy Wiring Installation
The Nitrous Outlet DIY Remote Bottle Opener Pro Wiring Harness is designed to provide a quick and easy wiring solution to installing a remote bottle opener.
The most time consuming and complicated part of the wiring process is eliminated with the detailed instructions, colored wiring schematics, pin out sheet, and universally mounted prewired relays.
Step 2: Route the main power wire and ground wire.
Step 3: Route the wiring to the system components.
Step 4: Cover the wire with the protective expandable wiring loom.
Step 5: Cut the wire to length.
Step 6: Terminate the wiring ends and connect to the system components.
Step 7: Connect power and ground source and check operation.
Installation Guide
Remote Bottle Opener Instructions (SKU: 00-66000, 00-66000-K)
Share
- Choosing a selection results in a full page refresh.

